tirsdag 15. desember 2015

Happy Holidays! The Story of Concrete Santa.

So I'm gonna wrap up this year by taking you along for a pretty useless software trip. First of all a big shoutout to Magne Ganz over at Multiconsult for inspiration and introducing me to Meshlab which is an opensource 3d mesh software. Quite neat little thing! Magne has used meshlab for both making a mesh from images via recap 360 and also for importing .pts files to topography in Revit via Dynamo.


Check out his Youtube videos here: https://www.youtube.com/user/MrGanzM/videos

But enough serious stuff. Ever wanted to import your daughter's Santa Claus into Revit as a generic family? Yes? Well, look no further:

Photos
First off, take a lot of pictures. Minimum recommended is 20, but preferably even more. In this example I took about 40ish.
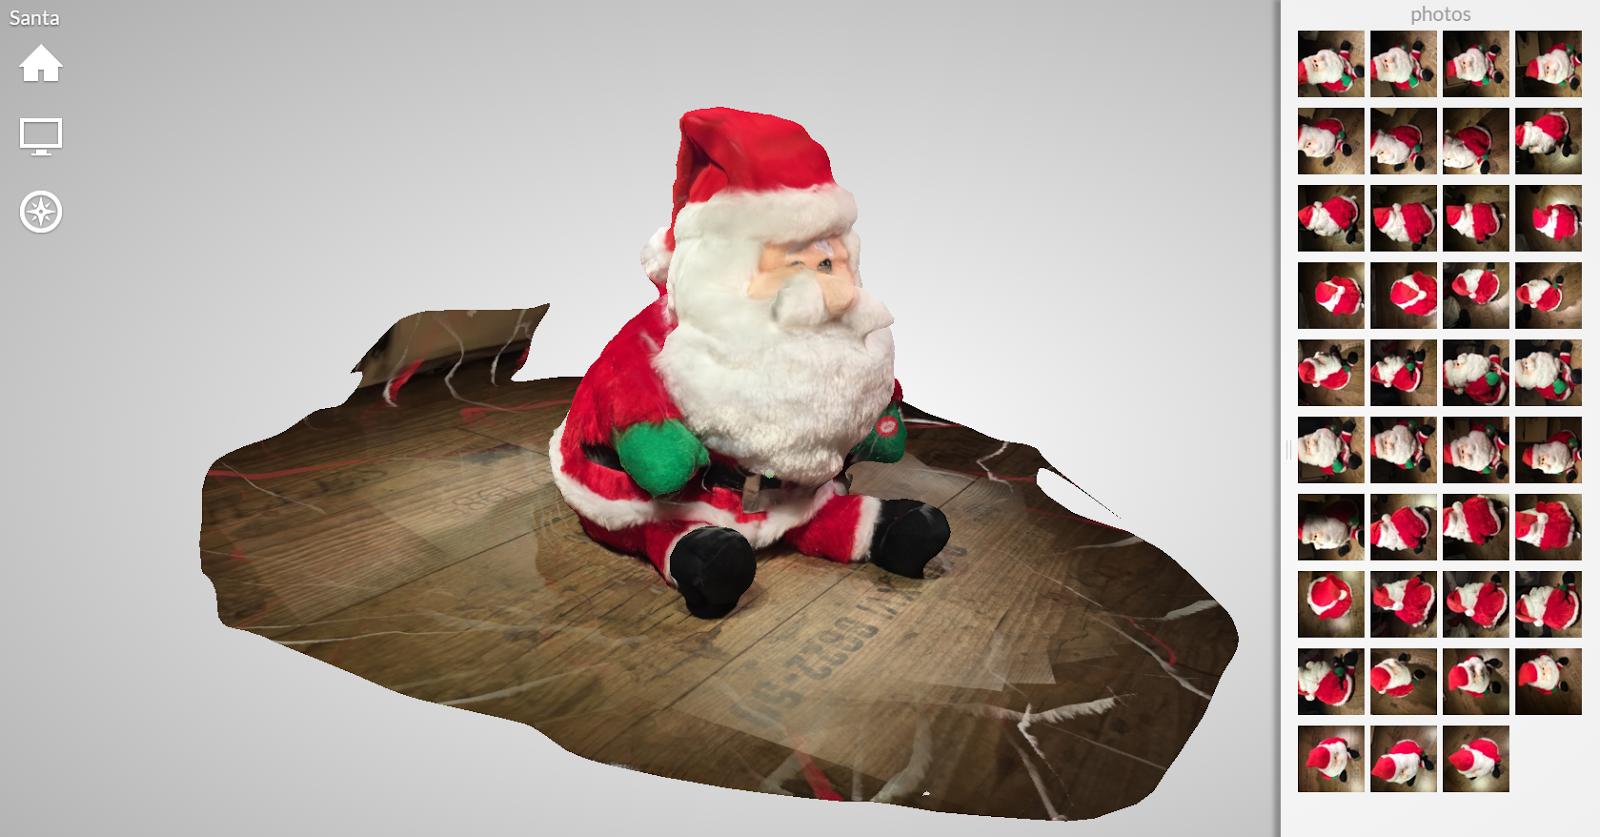
Recap 360
Then when all the pictures are transferred safely to your hard drive, go to https://recap360.autodesk.com/ , log in and upload your photos. then let Recap do the magic for you. Which images Recap uses are dependent on the quality of your photos and even your lighting. If some photos are not usable you are given the option to manually stitch them together with the rest.

the result:

Go back to your dashboard and you get the option to download a .obj file amongst others.

Meshlab
On to Meshlab, open it up and open your obj file, you'll get the mesh and the textures as well


Then I did the following:
1. Clean up. There are many ways to select vertices and faces in meshlab, but the brush is probably my favorite for now. When you have selected the faces you don't want, just press delete.
2. Filter. After cleaning I reduced the number of faces from about 160000 to just 4500 using one of the many filters in Meshlab called Quadric Edge Collapse Decimation. Don't know if it's the best, but it worked quite nicely.
3. Close any holes and make the mesh watertight.

In wireframe, good ol' Santa now looks like this:

Save the mesh as an .obj file once again, and spark up:

Dynamo
First of all you have to download the package called MeshToolkit from the package manager, Then all you have to do is this:
The reason for mirroring is just because my Santa was upside down..

Santa no longer got any textures, though. So I thought I would give him some by doing a little slope analysis on him.
(Mind you that the Mesh.Triangles node below WILL slow down your script pretty much. And that's why it was necessary to reduce the number of faces originally outputted by Recap.)


Well, then there is just one more thing to do, convert to solid and import to Revit as a generic family:

To Revit:

Change the material and you got yourself a concrete Santa! (A little different scale, but what the heck..)


Now, if I just had a concrete 3d printer..

Happy Holidays!

onsdag 2. desember 2015

Follow up: Cutting Objects to Topography: 3D water

I got a comment on my last post from the great landarchBIM stating that water volumes would be a great area of use for the "FamilyInstance.ByGeometry" node from "Spring nodes" package. So I naturally wanted to try that out. In addition I wanted to try out the "Elk"-package which enables Dynamo to read OSM and topography data into Dynamo. So why not combine?

For an introduction to the Elk-package have a look here:
Dynamo and OSM: https://vimeo.com/143623515
Dynamo and Topography: https://vimeo.com/143624038

I went with a small area of the Grand Canyon as the test site and downloaded a tiff file according to Timothy Logans videos above.

This is from http://earthexplorer.usgs.gov/ and you have to make an account, but it's free!

It's accurately described in the videos above, but this is the Dynamo script for making a Revit topography from the SRTM-data provided form the earthexplorer site:

Quite simple, eh?

In the next part I've added a nearly identical node layout as my last script, but with some modifications. For example cutting the solid at a certain waterlevel. The script is quick and dirty and more of a proof of concept than anything else. I guess it could be automated to select the correct solid to be imported, but it worked as is for me.


Depending on which way you draw the model lines used for defining the extent of water, you will have to switch between the first and last item in the solid operations and also switch between +/- for the offsets. Someone will improve on this for certain! ;) As I said, quick and dirty, but it works.

Depending on Revit's cooperation you must sometimes also place the imported family yourself, but just select the correct import level and place the family in the project base point.

Next I gave the family a material parameter and changed it to water, and voila!


Even a smooth bottom surface!


The Topo in Revit is triangulated and you can choose whether you want to use this triangulated model for modeling the water. You can just as well use the surface directly (as I did) to get a smooth edge at the bottom, but then it mismatches a little bit with the generated topo in Revit, no big deal as far as I'm concerned.

Come to think of it, why not import the surface as a solid family itself, all shiny and chrome? ;)